Hey yall! So I’ve been making these burp cloths for a few months now and people have been asking for them so I thought I’d do my first ever little tutorial! They’re nothing fancy, but who wants anything nice to clean up spit with?! Anyways, they’re cute, they do the job and CHEAP! Burp cloths vary in price depending on brand and quality, but the average price I’ve found is about $10 for 5. With this tutorial, you can make at least 12 for about $6. I’m always looking for ways to get quality products for an affordable price and these cloths make that possible!
I get my fabric mostly from Walmart, but any place like Joann’s or Hobby Lobby that has cotton fabric will work just fine. You can try different materials, but I’ve found that cotton absorbs better than most and that absorbency increases after each wash. You’ll only need one yard of a front fabric and one yard of back fabric. So head out and find the cutest design you can find!!
I purchased one yard of a teal polka-dot (cotton) fabric from Walmart as well as a simple white (cotton) piece. It came to a total of $6.
Lay out one of your pieces (doesn’t matter which) on a flat surface with the good side faced TOWARD you. You want the “bad” side of the fabric on the outside when you sew.
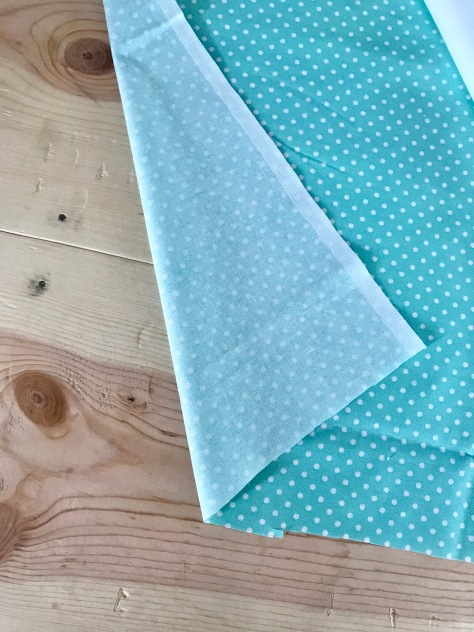
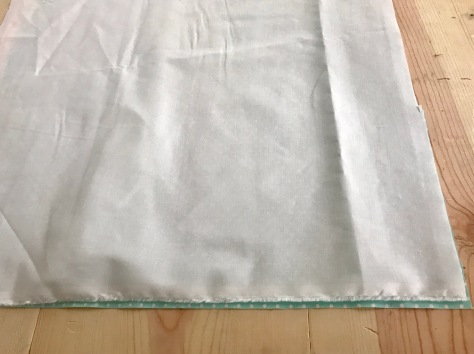
Next, lay the other fabric on top and make sure to line up the edges. You don’t want to waste fabric! Get out as many wrinkles as you can.
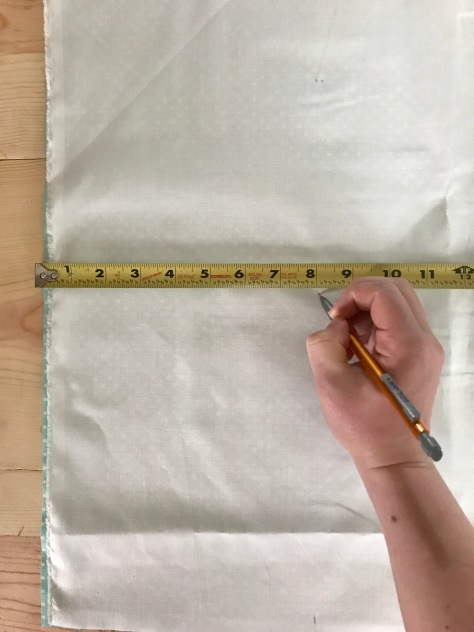
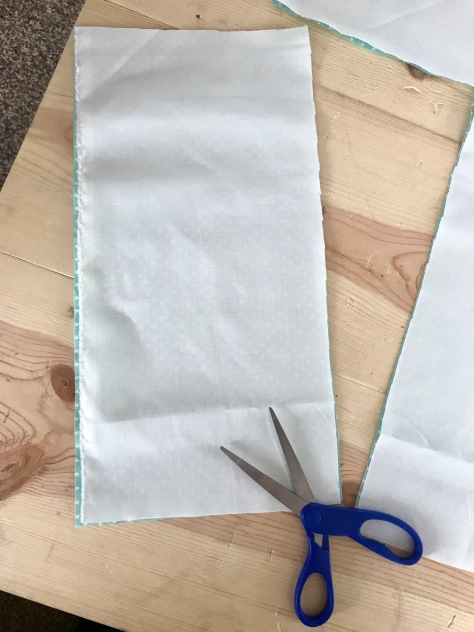
With a tape measure and pencil, label 8 inches across and 16 inches high. Feel free to make your cloths bigger or smaller, but I feel like 8 x 16 is a good standard size. Keep those edges straight! You will only have to do this for your first piece. It will serve as a guide for the others should you choose to make more.

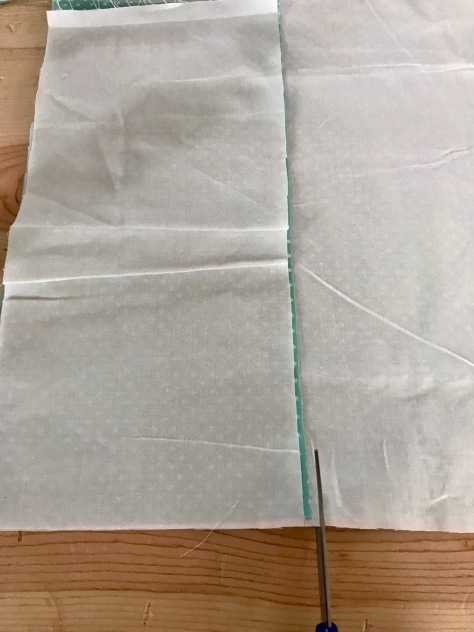
Then start cutting! Try to get lines as straight as you can. Don’t worry if you make a mistake because you won’t be able to see this in the end product.

You should have a rectangular piece like this! Good job! You can use some pins to keep fabric in place, but I usually just adjust it as I go. Totally up to you and your comfort level. Let’s head to the sewing machine!
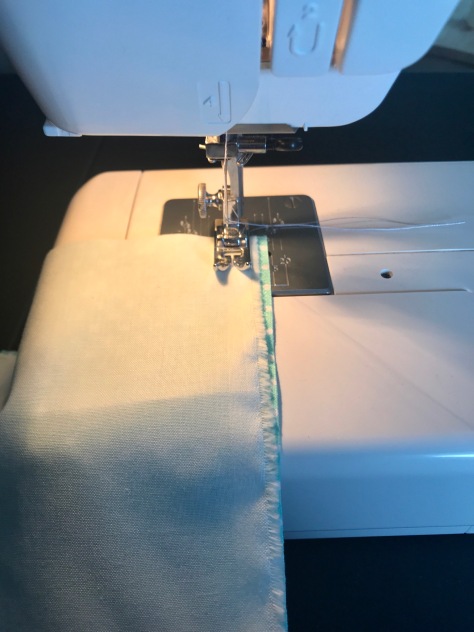
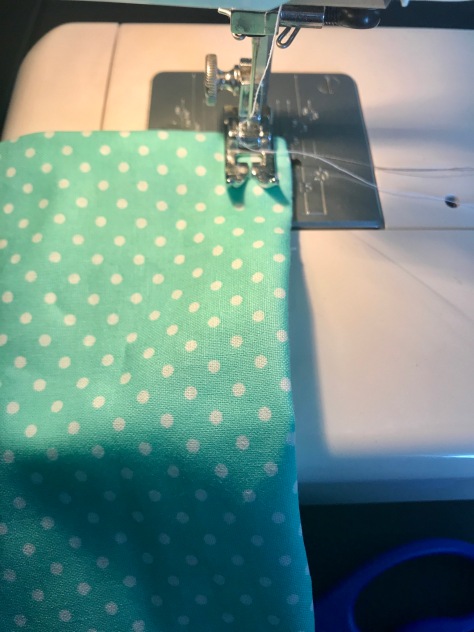
Always start sewing on a LONG side. Go about 1/4 inch in and go to town! Don’t forget when you start to go forward a few stitches be sure to then do a short reverse stitch to seal the thread.
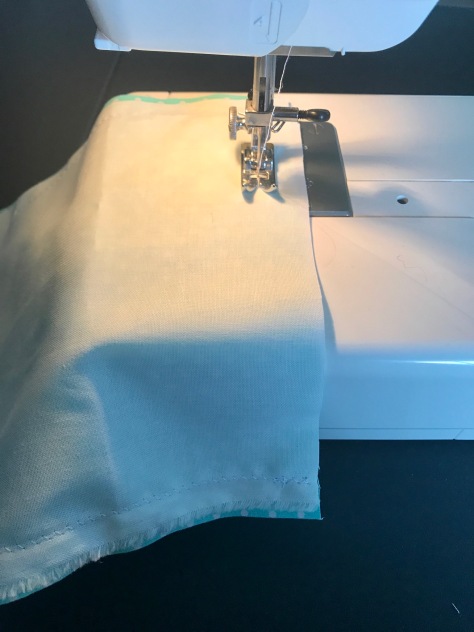
When you get to a corner, make sure the needle is up and lift the presser foot. Then rotate the material and keep going! Sew until you get to the last short side.
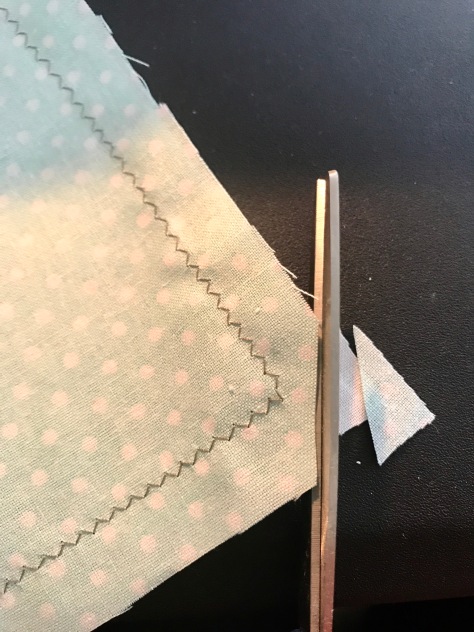
Before finishing up the last short side, pull off the fabric completely from the machine and trim the thread from the cloth. I like to cut the corners because I think it makes the corners look better and less bulky.
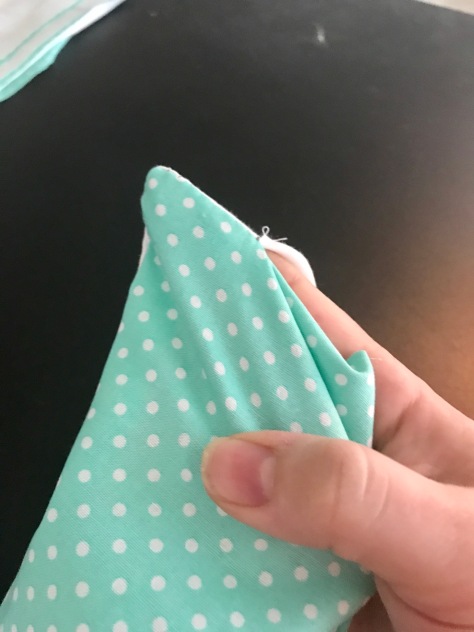
Reach your hand inside the opening and flip the cloth right side out.

Make sure you push all the corners out with a finger.
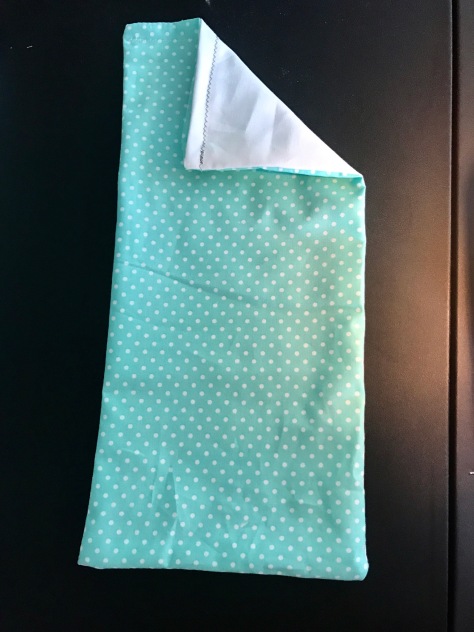
Fold in the part that is not yet sewn. Then just sew it shut. (This is why you want to end on the shorter side)
All done!! Congratulations you have a totally awesome, very standard, durable burp cloth 🙂
P.S. if you want to make more, you would simply use the first cut as a guide and place it over the rest of the fabric and cut around it. Best of luck! Thanks for reading!
Did you try this project??
Leave your comments below.