I am so excited that we finally got our chickens and ducks! Is it officially a little farm now?? Jason wanted a cowboy hat because he’s cute and thinks he’s a farm boy now so we both got new ones. It was fun! 
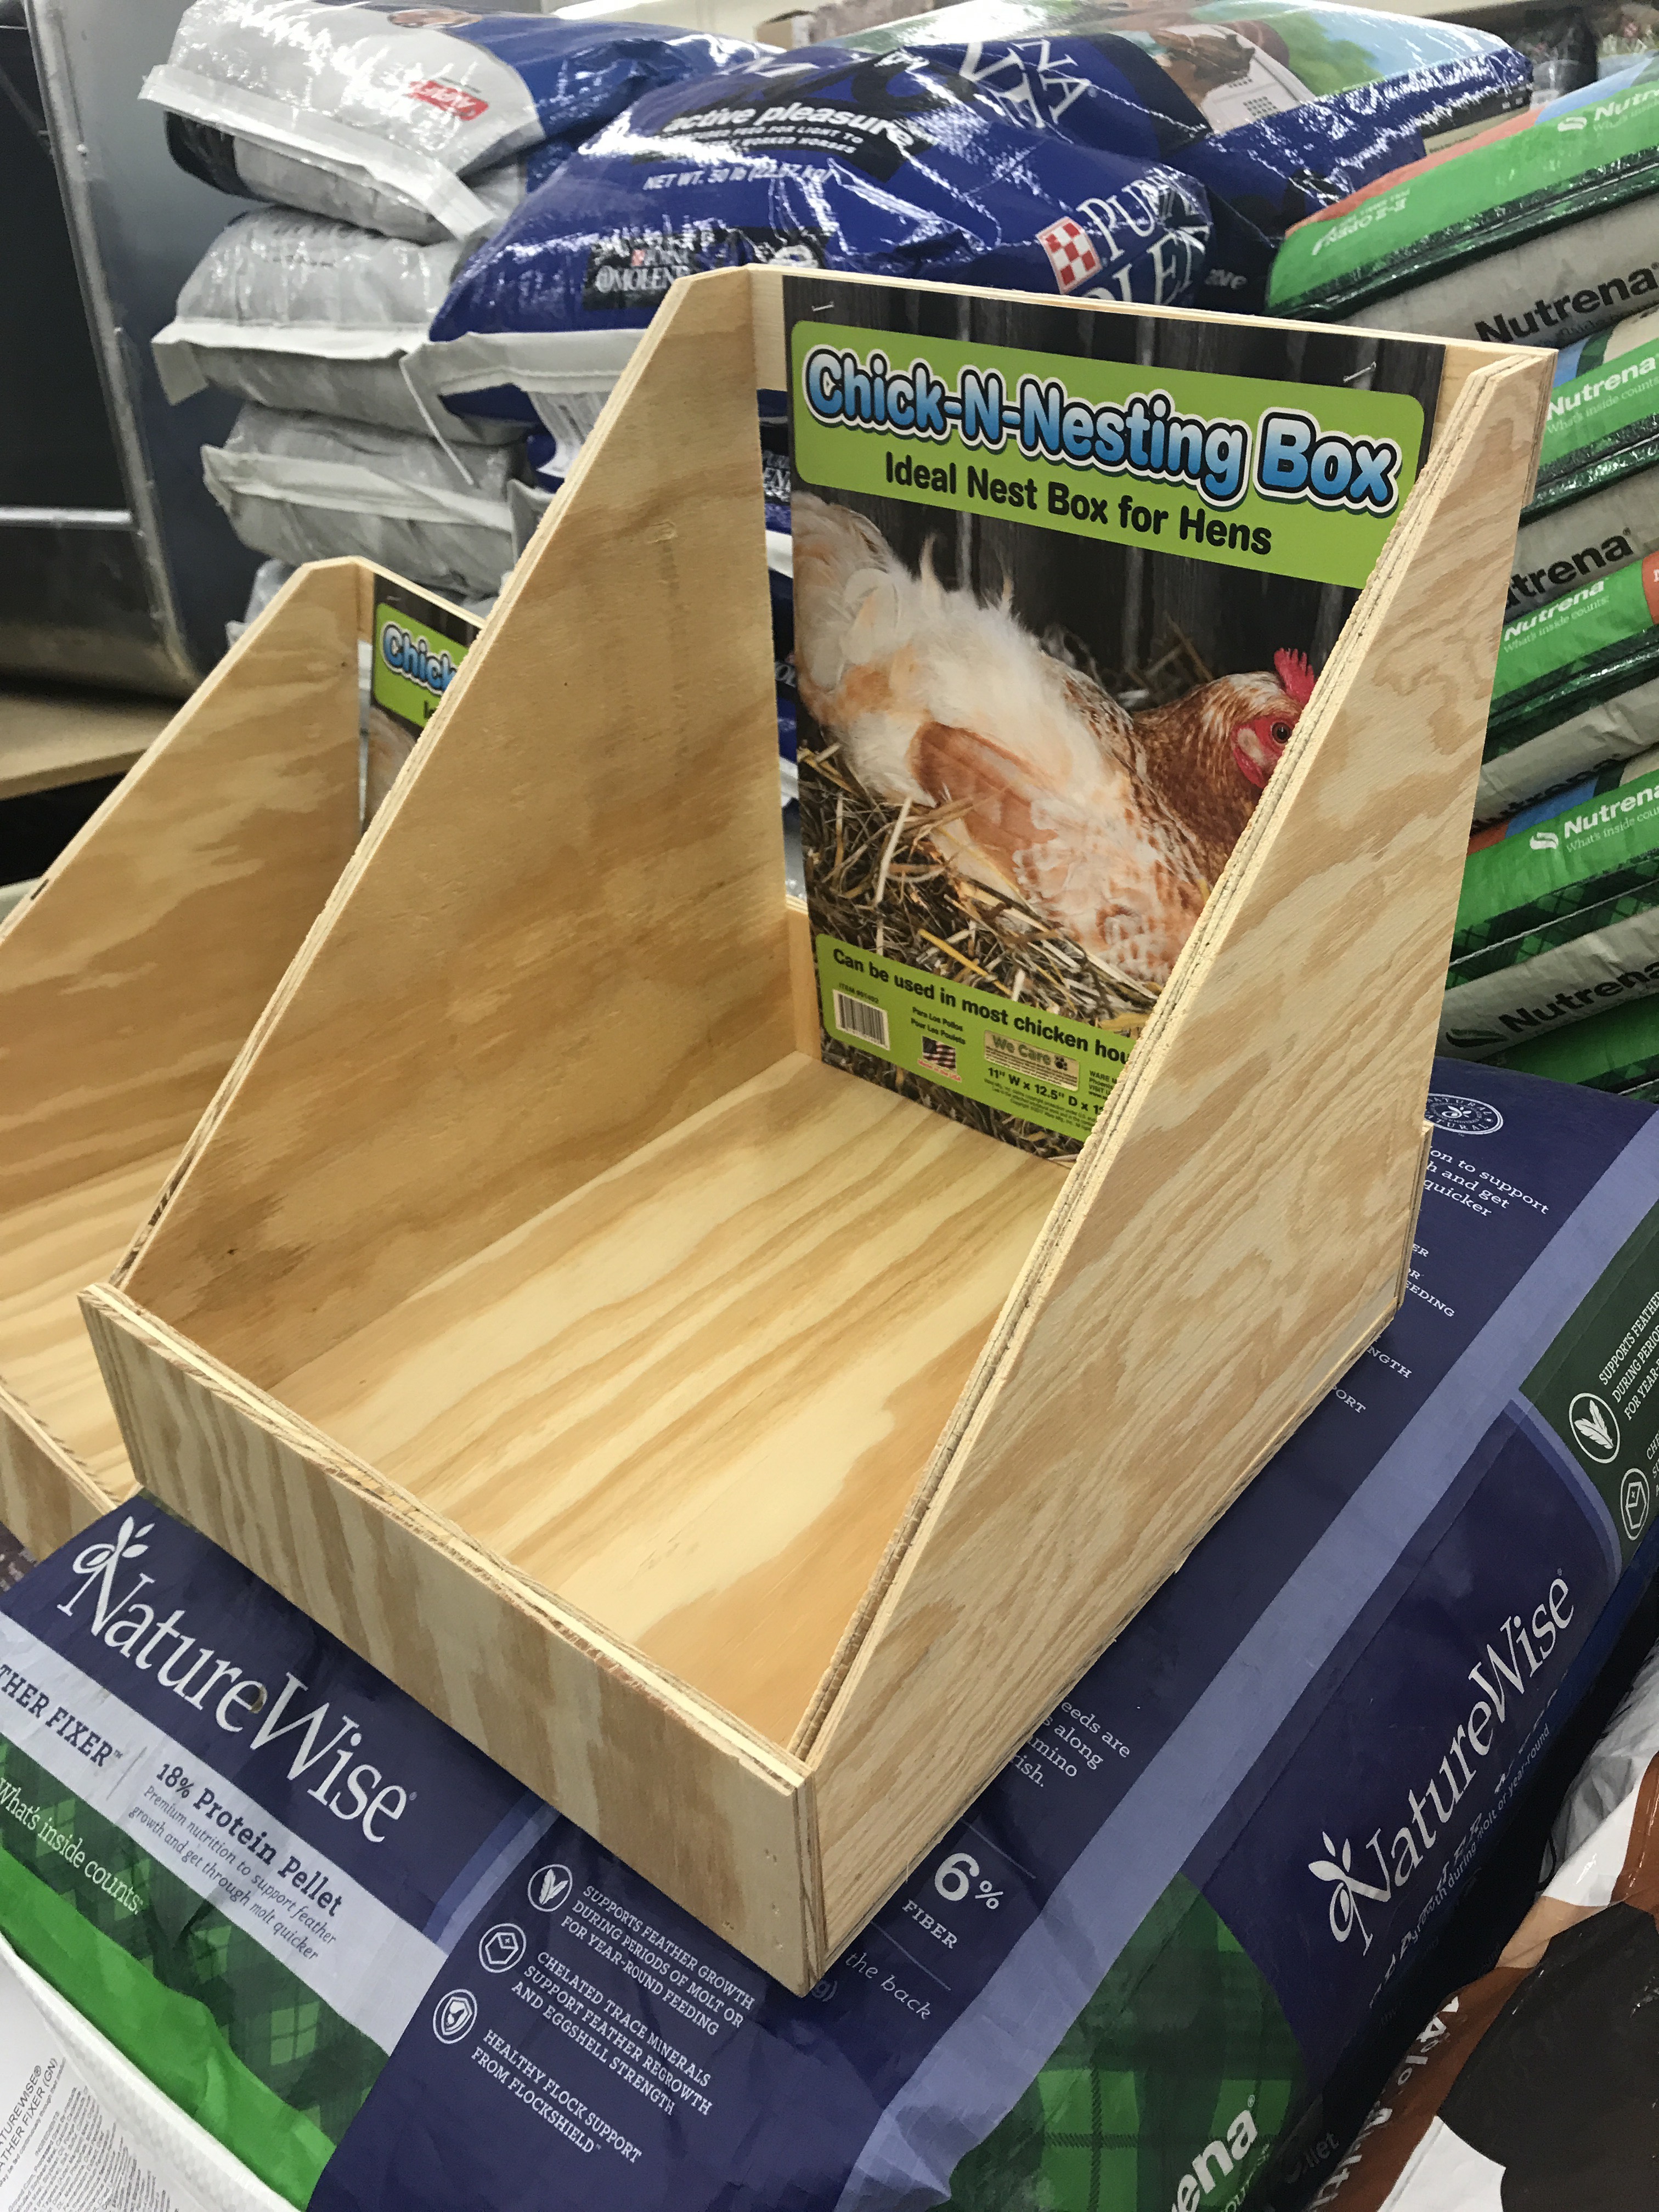
Anyways, because of building the fences and coop by ourselves we were a little exhausted from DIY projects. We looked for some nesting boxes at our local ranch store and found out that one, individual box was $14.99. HOLY CRAP! So back to DIY we went. Like, it wasn’t even made that well. It was plywood. And whenever I see something overpriced I always find a way to make it myself. So I’m doing this tutorial in hopes that someone else who doesn’t want to spend $15 a nesting box can make these as well. We ended up making 12 nesting boxes for $15.
First off, we headed to Lowe’s to get the plywood. I forgot to take a pic of the one we got, but it was almost $15 and maybe 1/8 inch thick. 4 x 8 feet. And that’s it! We already had the staples but if you need them we got the 3/8 inch Crown staples for our Compressed Staple Gun.
MATERIALS YOU WILL NEED:
4 x 8 foot Plywood sheet
Staples and staple gun
Table saw/ Miter saw
At Lowe’s, we had a guy cut the plywood for us into 12 inch x 4 foot sections. That just made it easier on us. Then we sat down and thought about how many pieces we would need to cut. We would need several 12 x 2 inch pieces for the front and back. And also the dividing pieces. My hubby did the math on these, but it wouldn’t be too hard to figure out. I like to draw it out in my head. Since we need 12 nesting boxes, that’s 36 small pieces and 10 dividing pieces.
We left 3 of the 12 inch x 4 feet sections to use as the base.
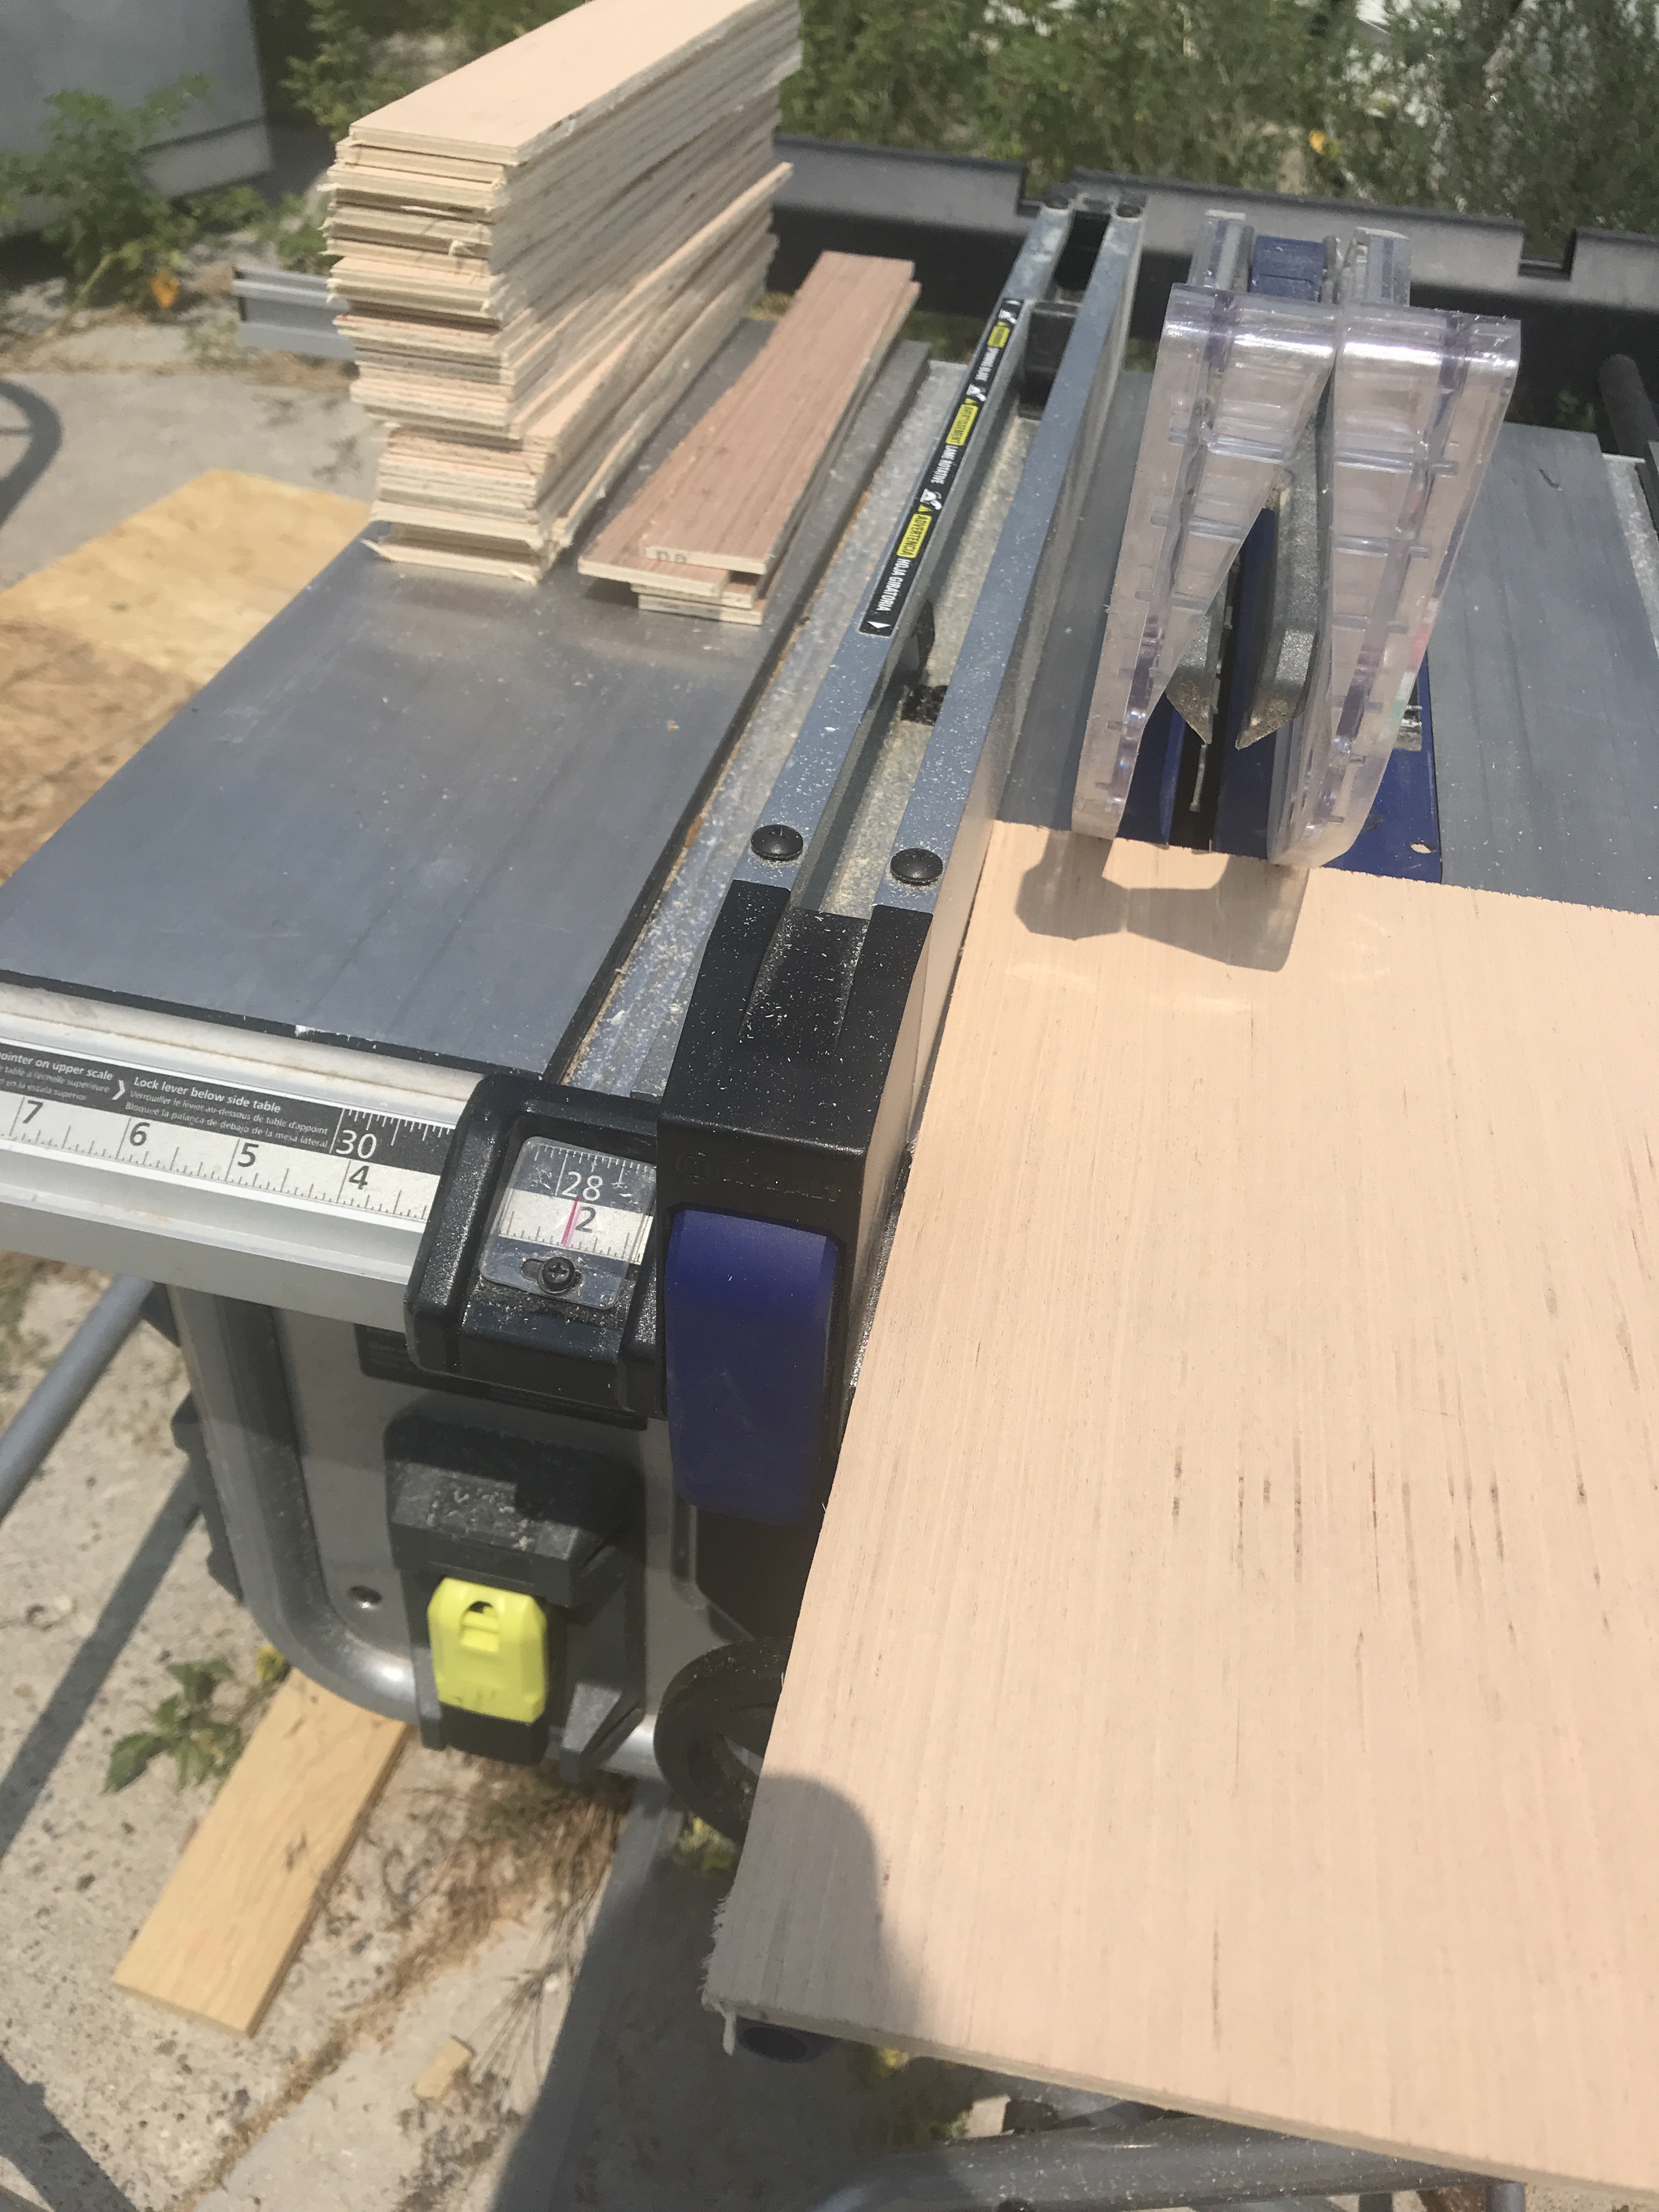
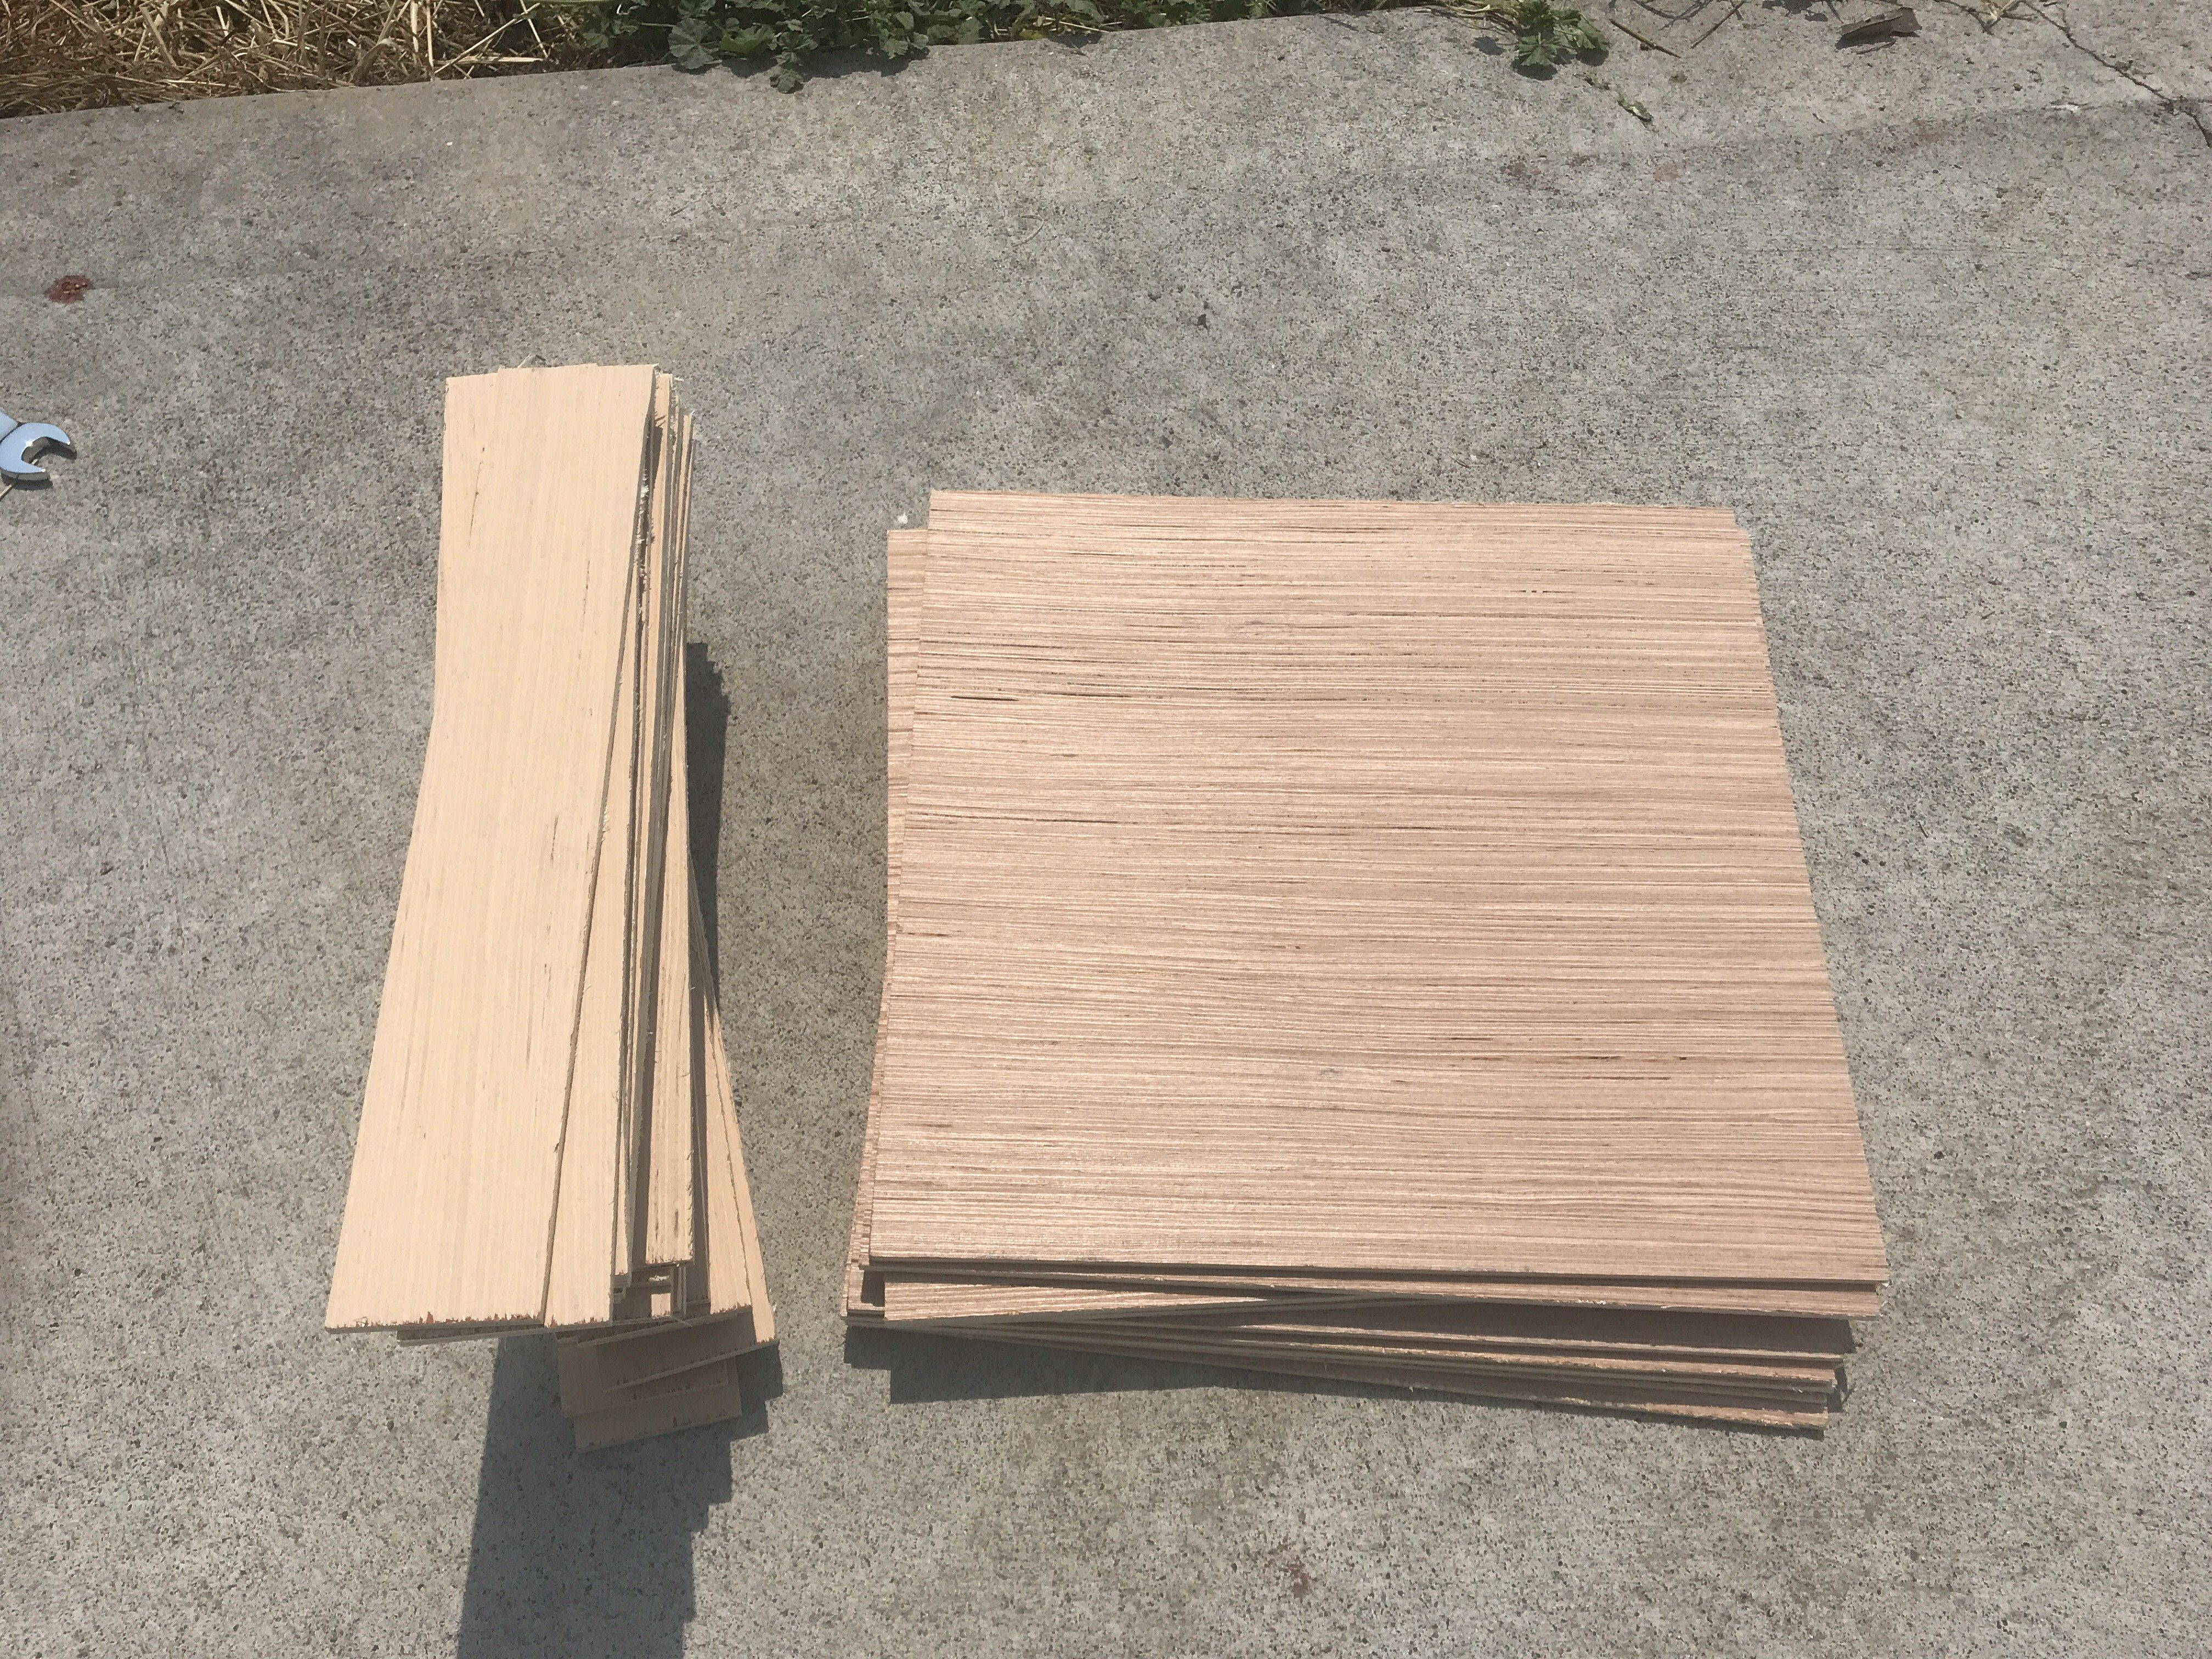
Start by cutting a few of your sheets into 12 x 12 ‘s. These are eventually going to be your dividing pieces. Then cut your 12 x 2 ‘s.
You should have a pile that looks like this.
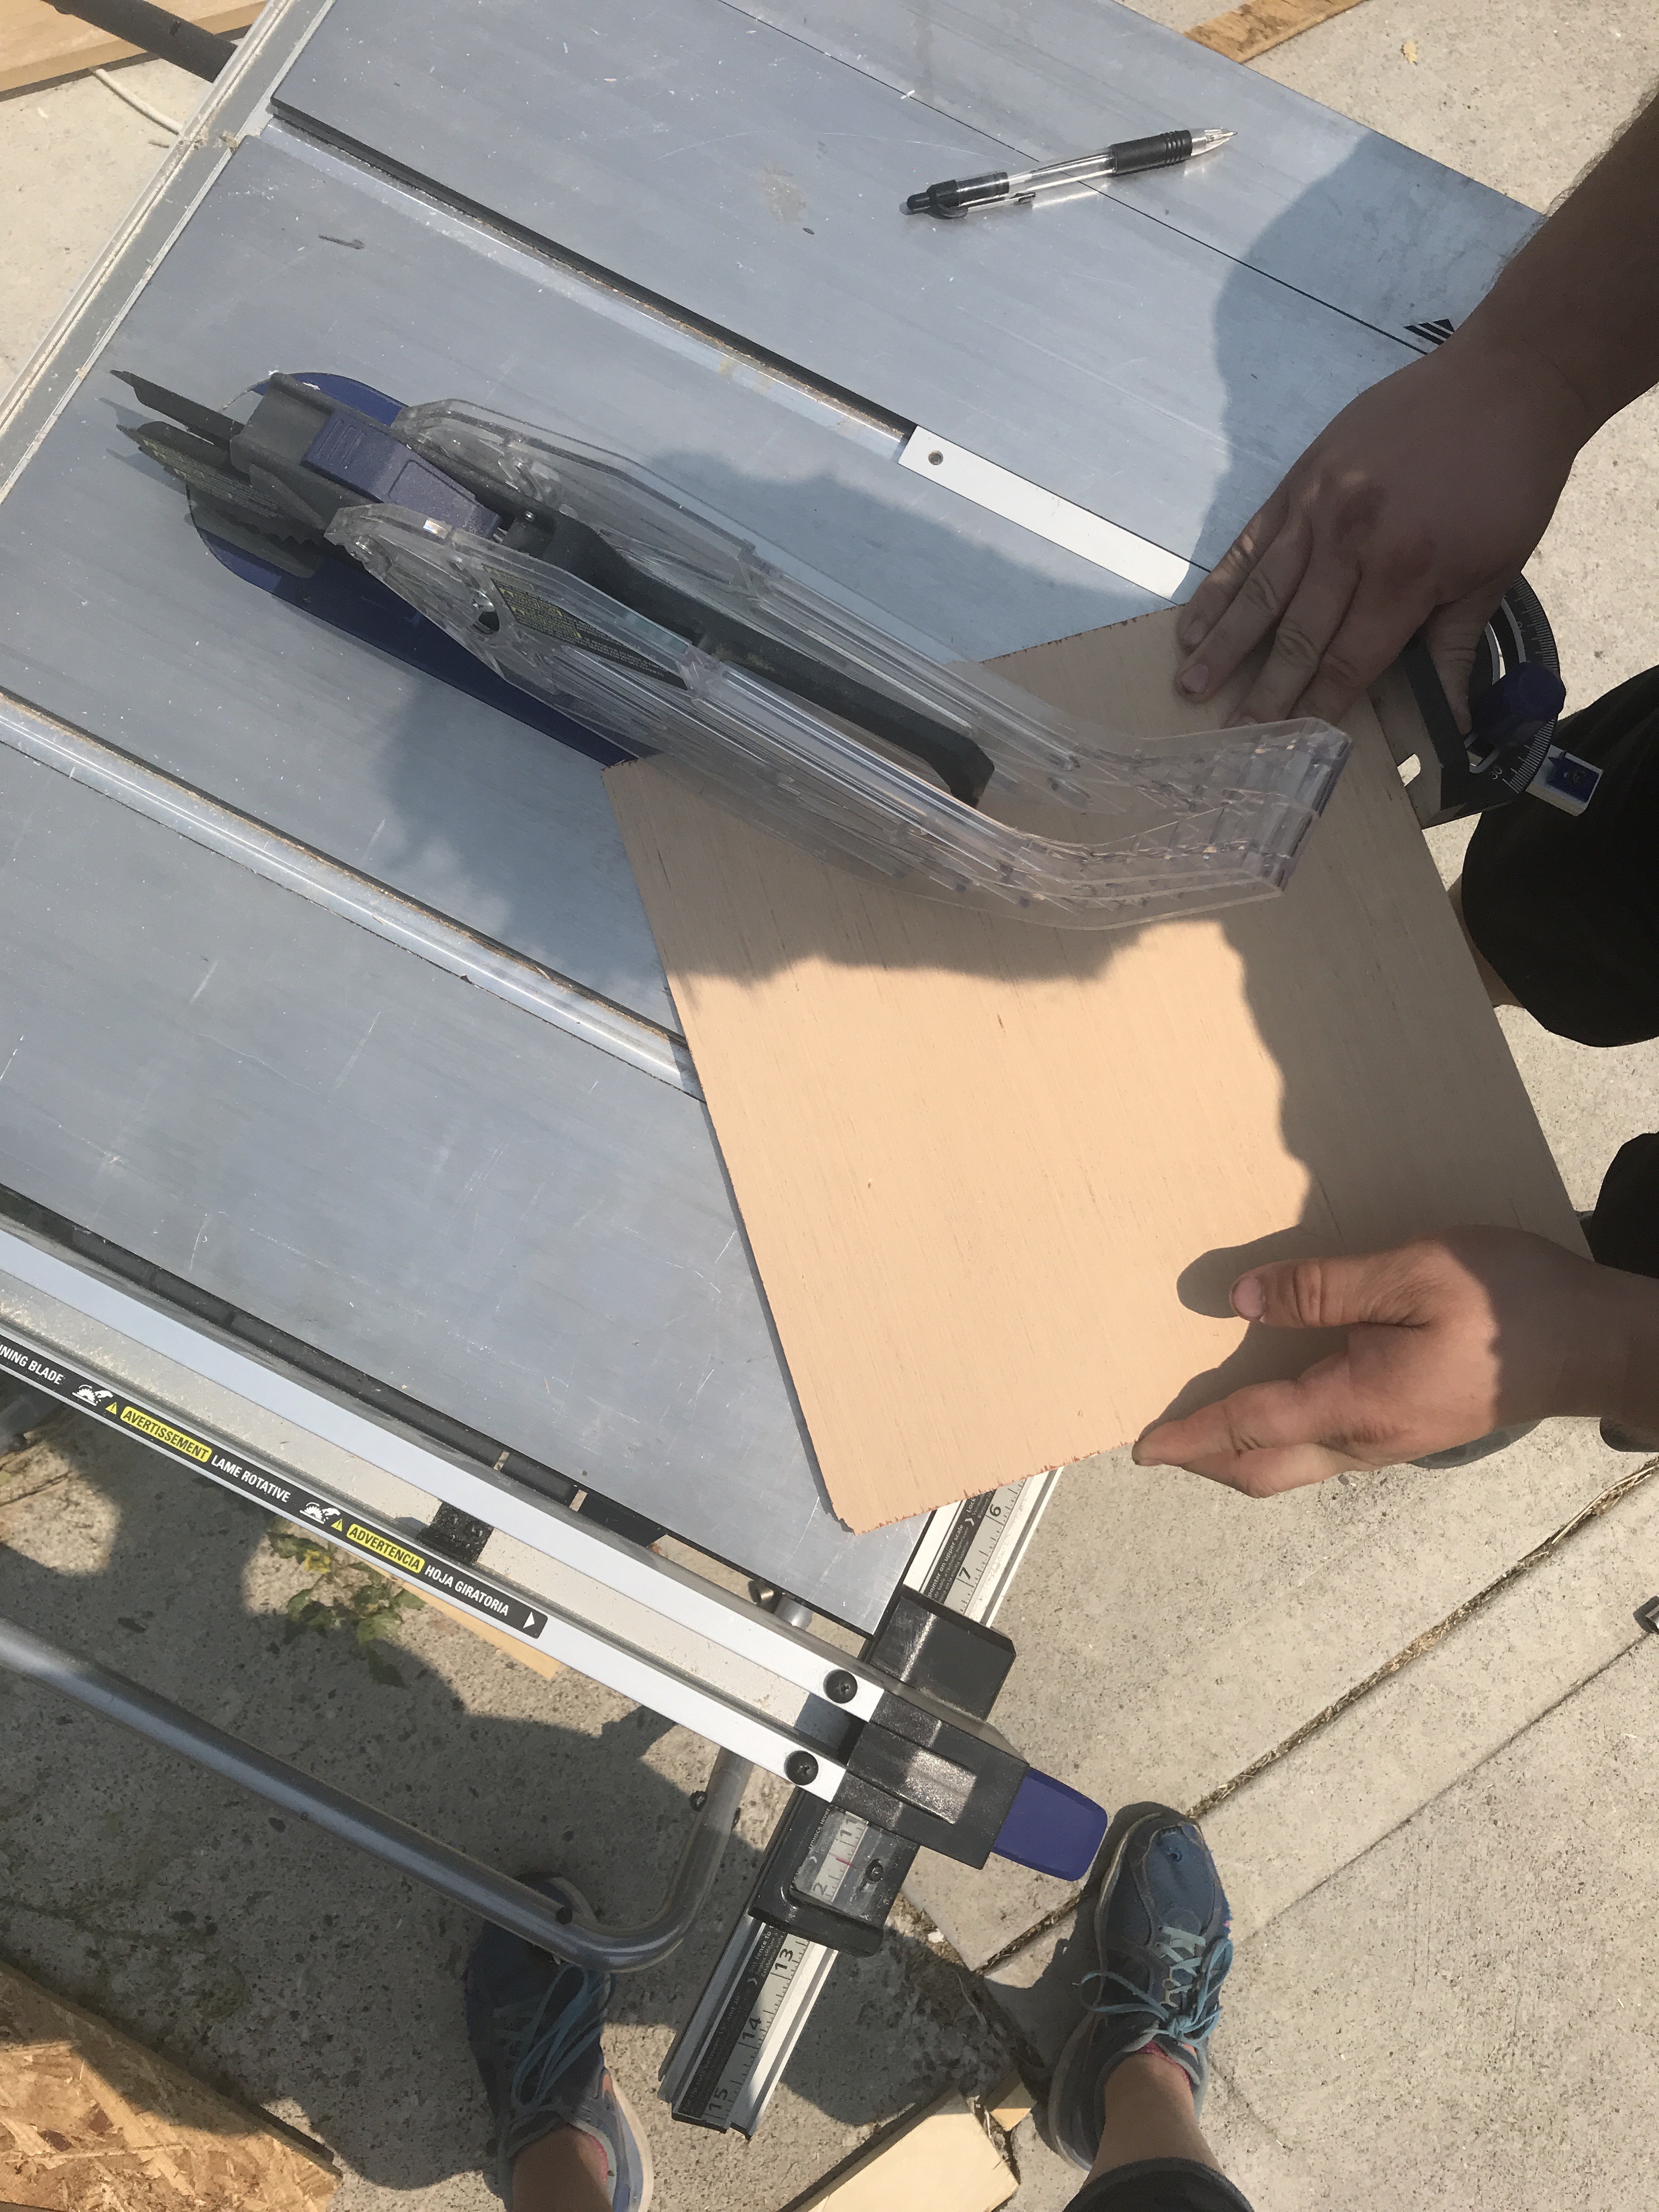
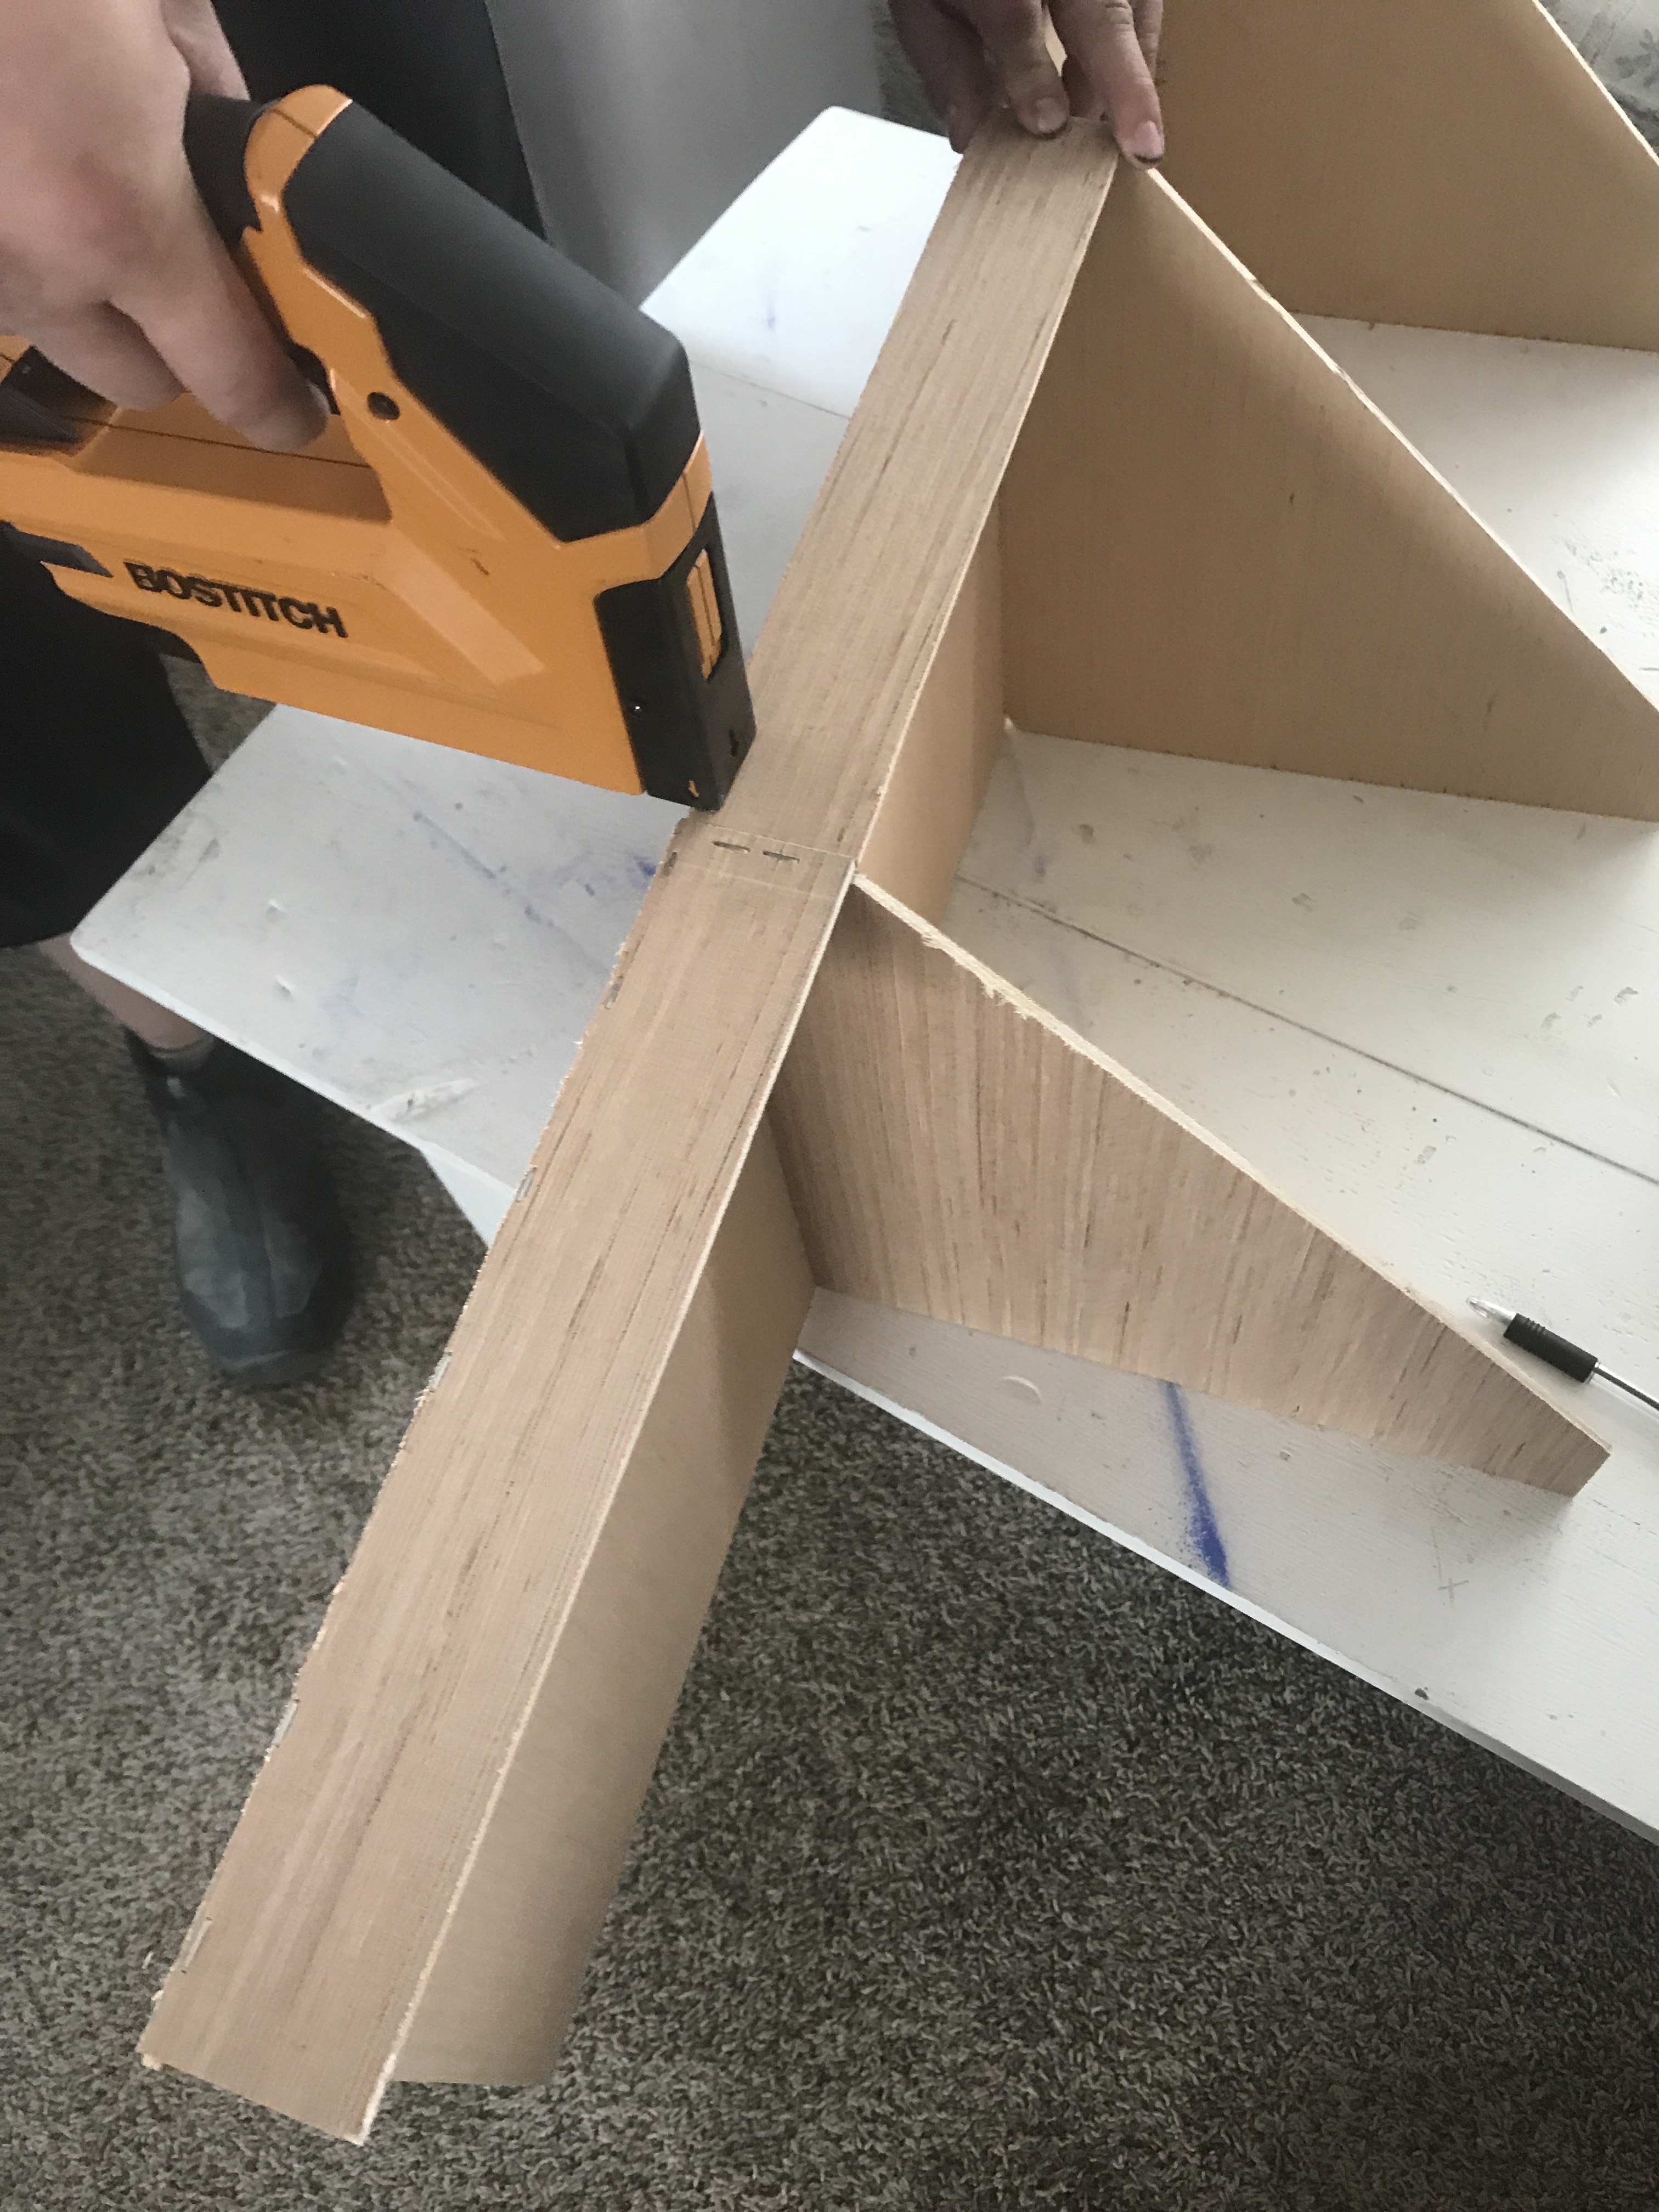
Then take those 12 x 12 ‘s and set your saw to a 45 degree angle. Then we measured 2 inches up from the base and cut there.
Yay! The cutting is over! We measured and marked the base pieces every 12 inches apart. Then chalked to make the stapling more accurate. Line up the dividing pieces to the base pieces every 12 inches and staple down the back
.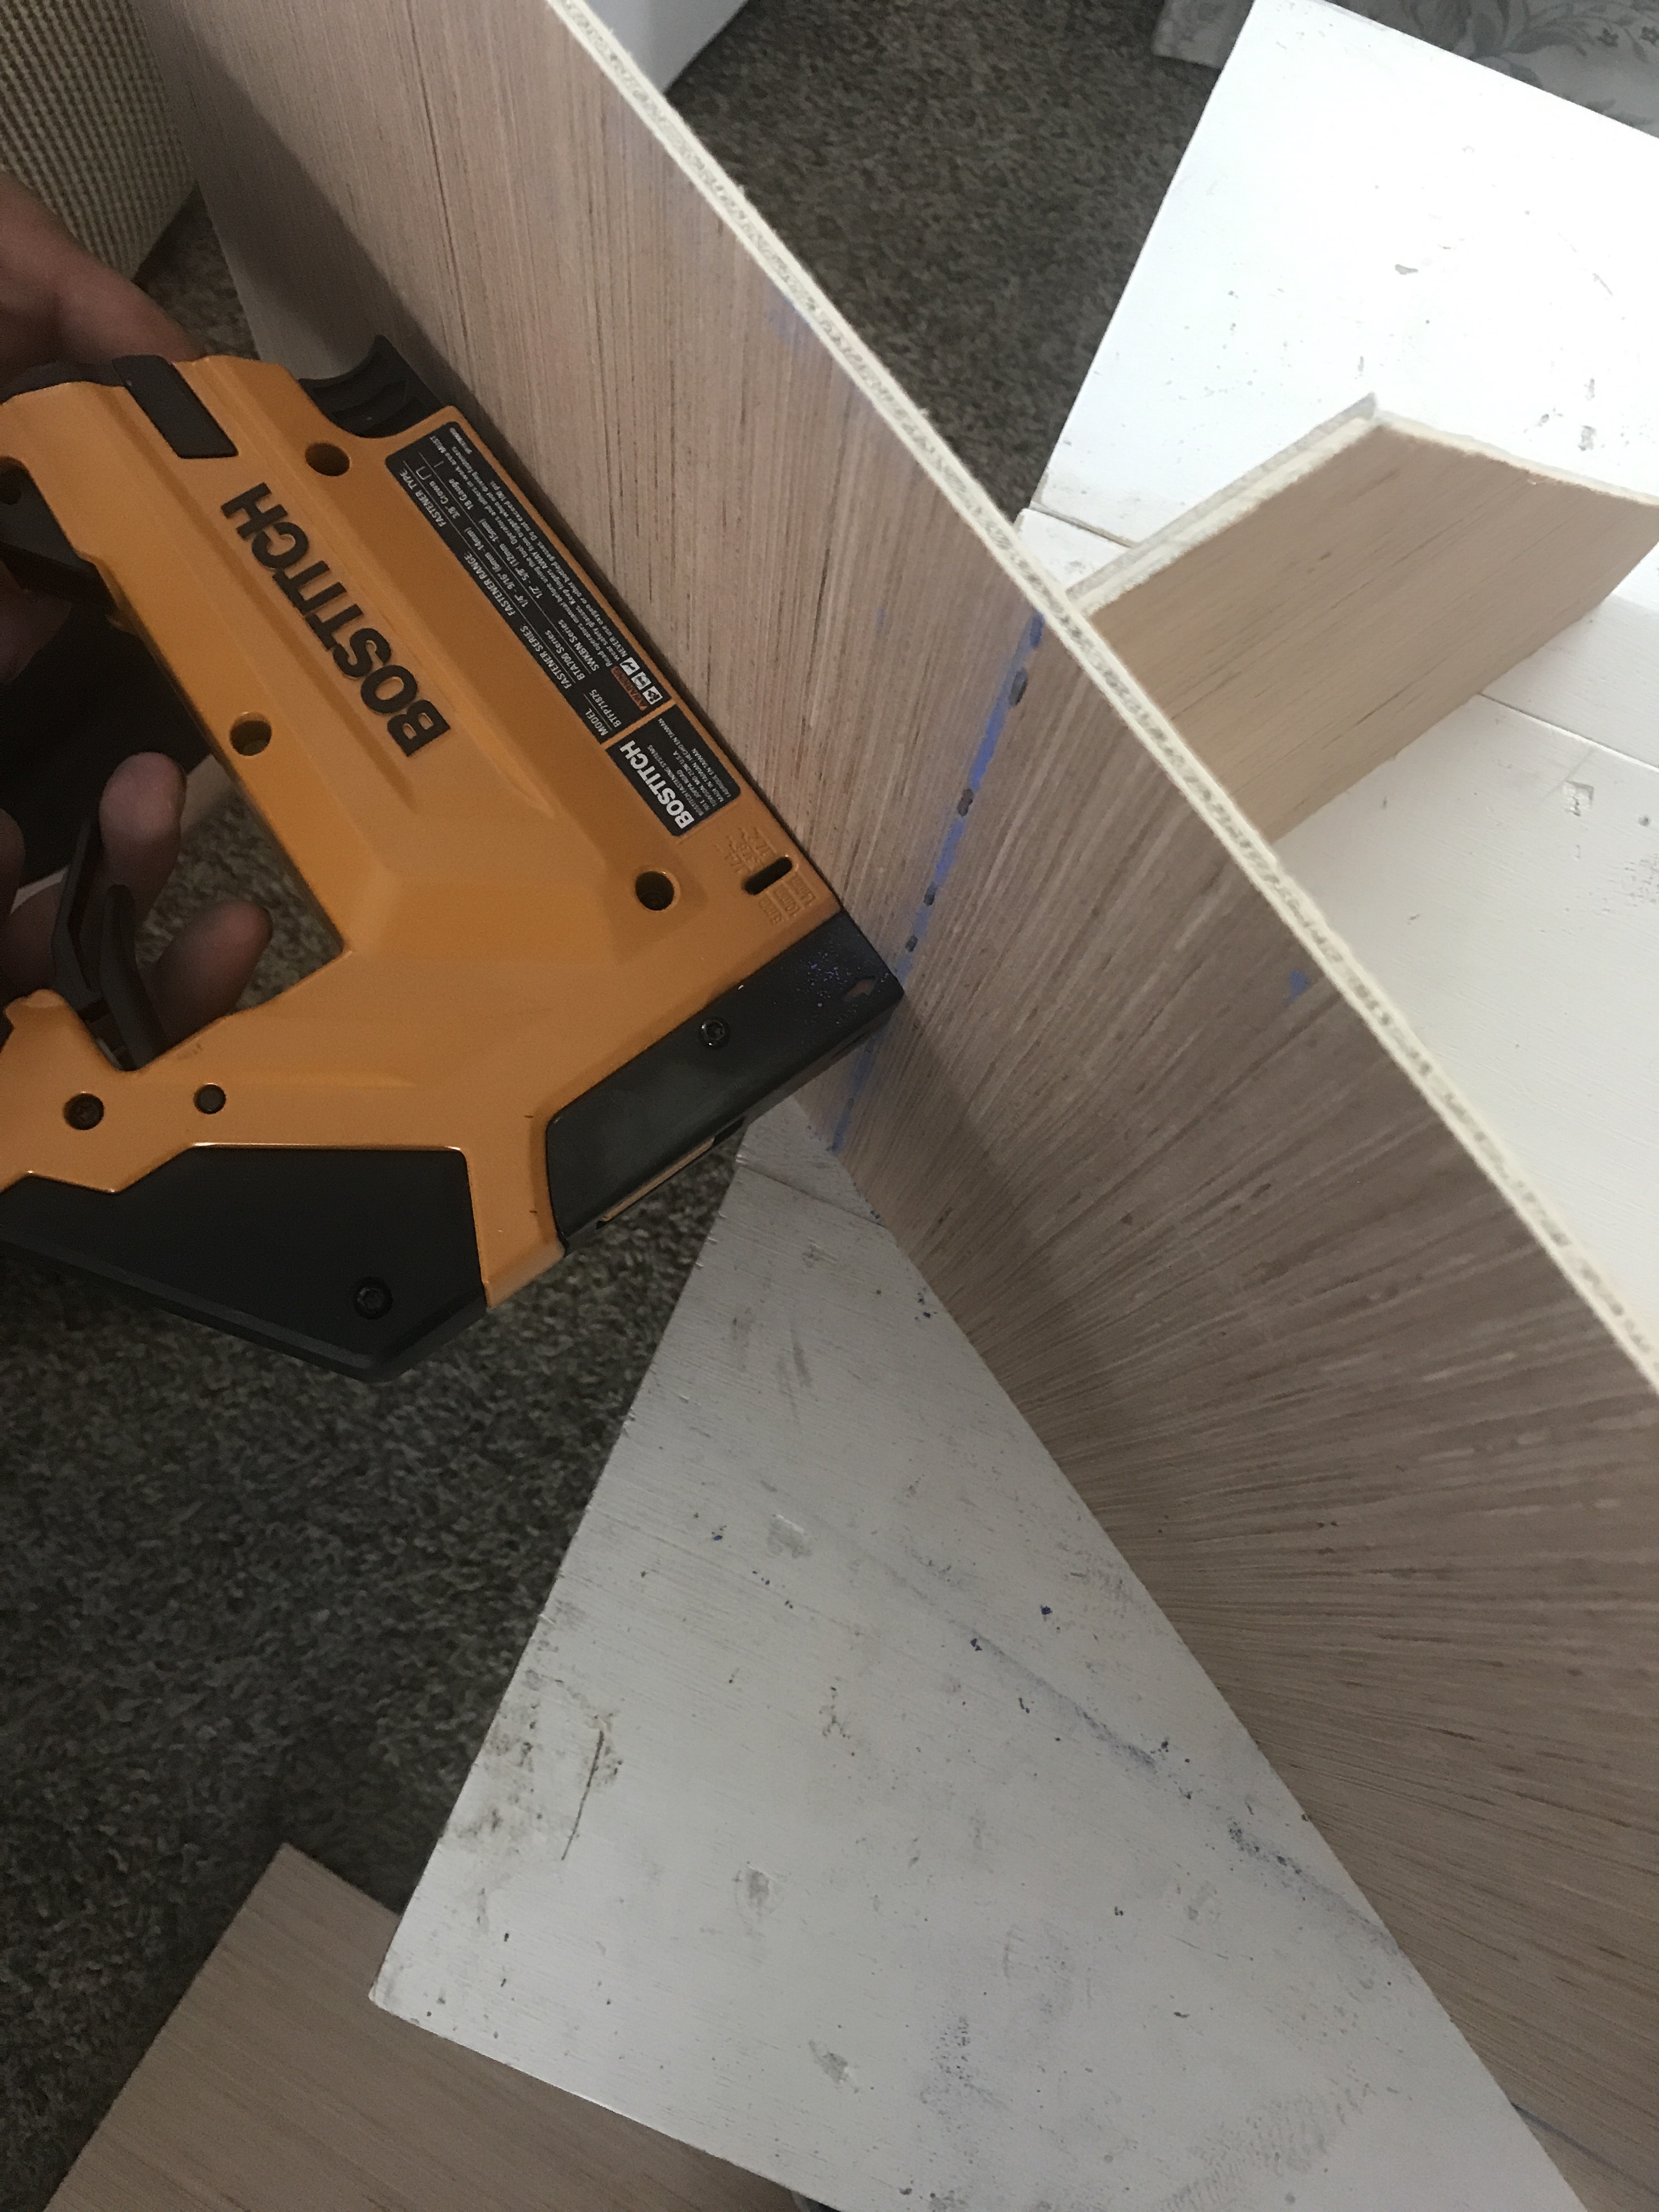
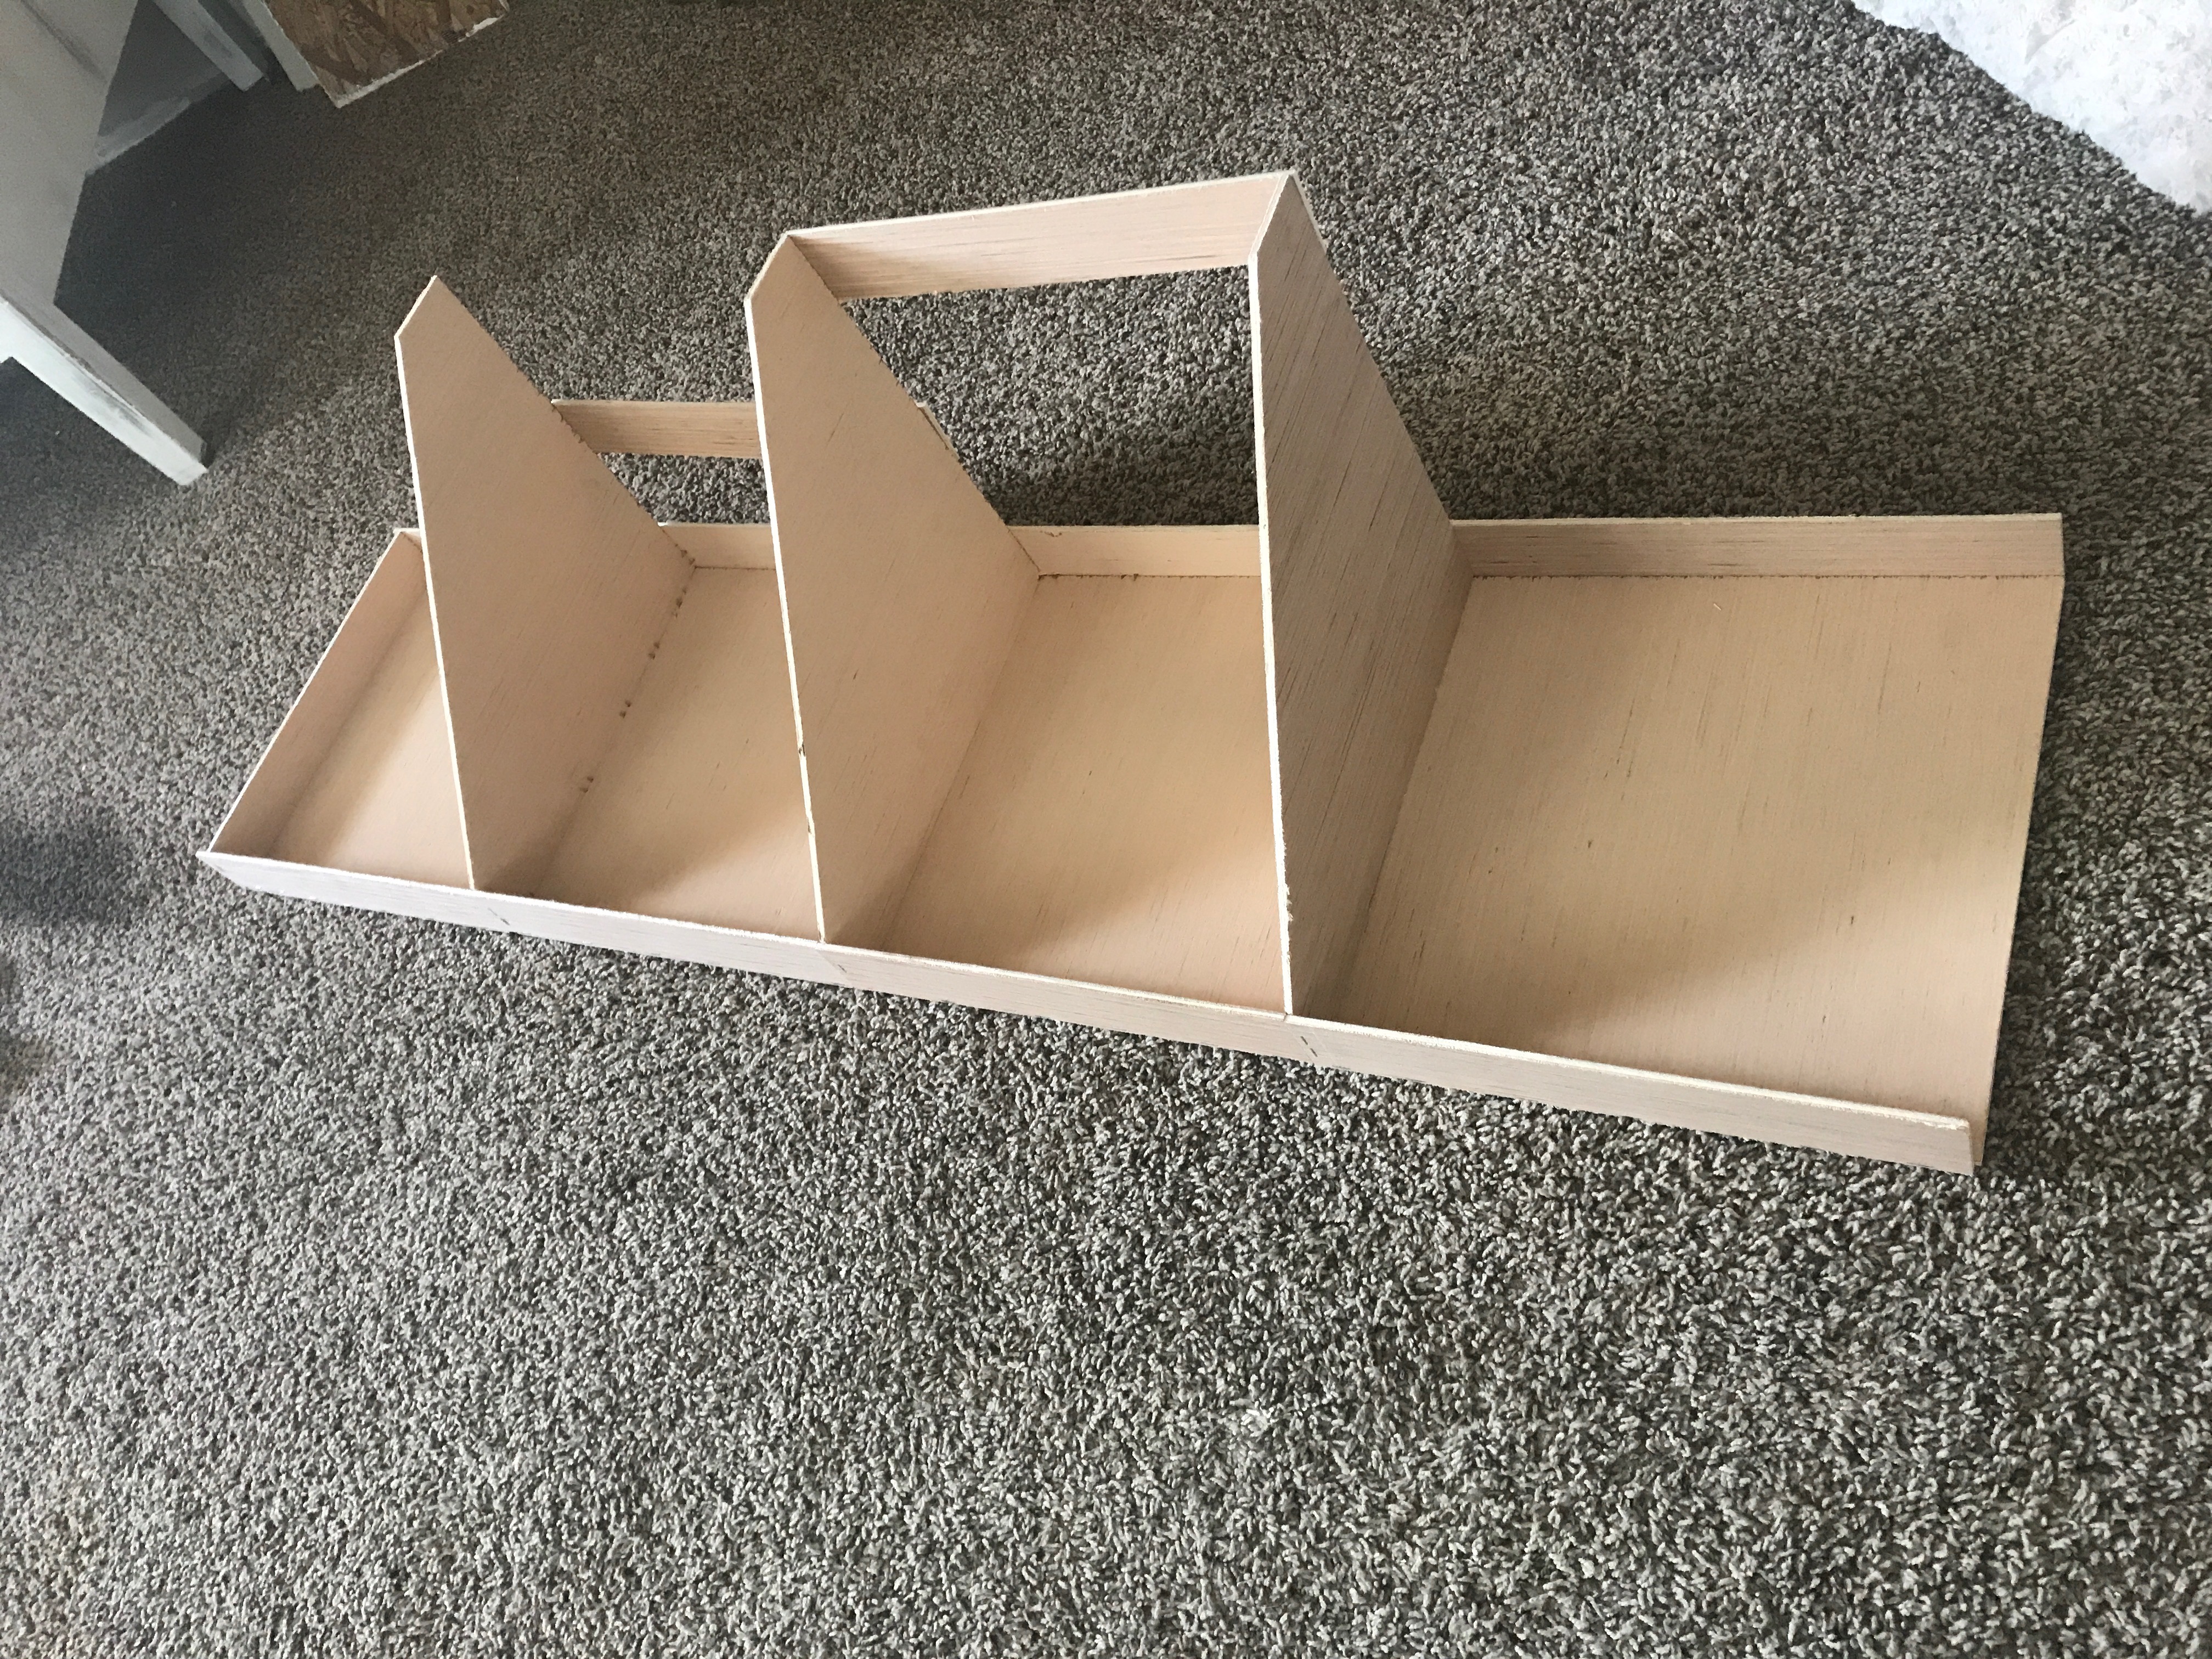
Do this to all the dividers and bases. Then you attach the 12 x 2 ‘s to the front and back. We did a top 12 x 2 every once in a while just for extra support.
That’s it! We didn’t put end pieces on this one because it was going right up to the sides of the coop. Next is the fun part – installing it to the coop!
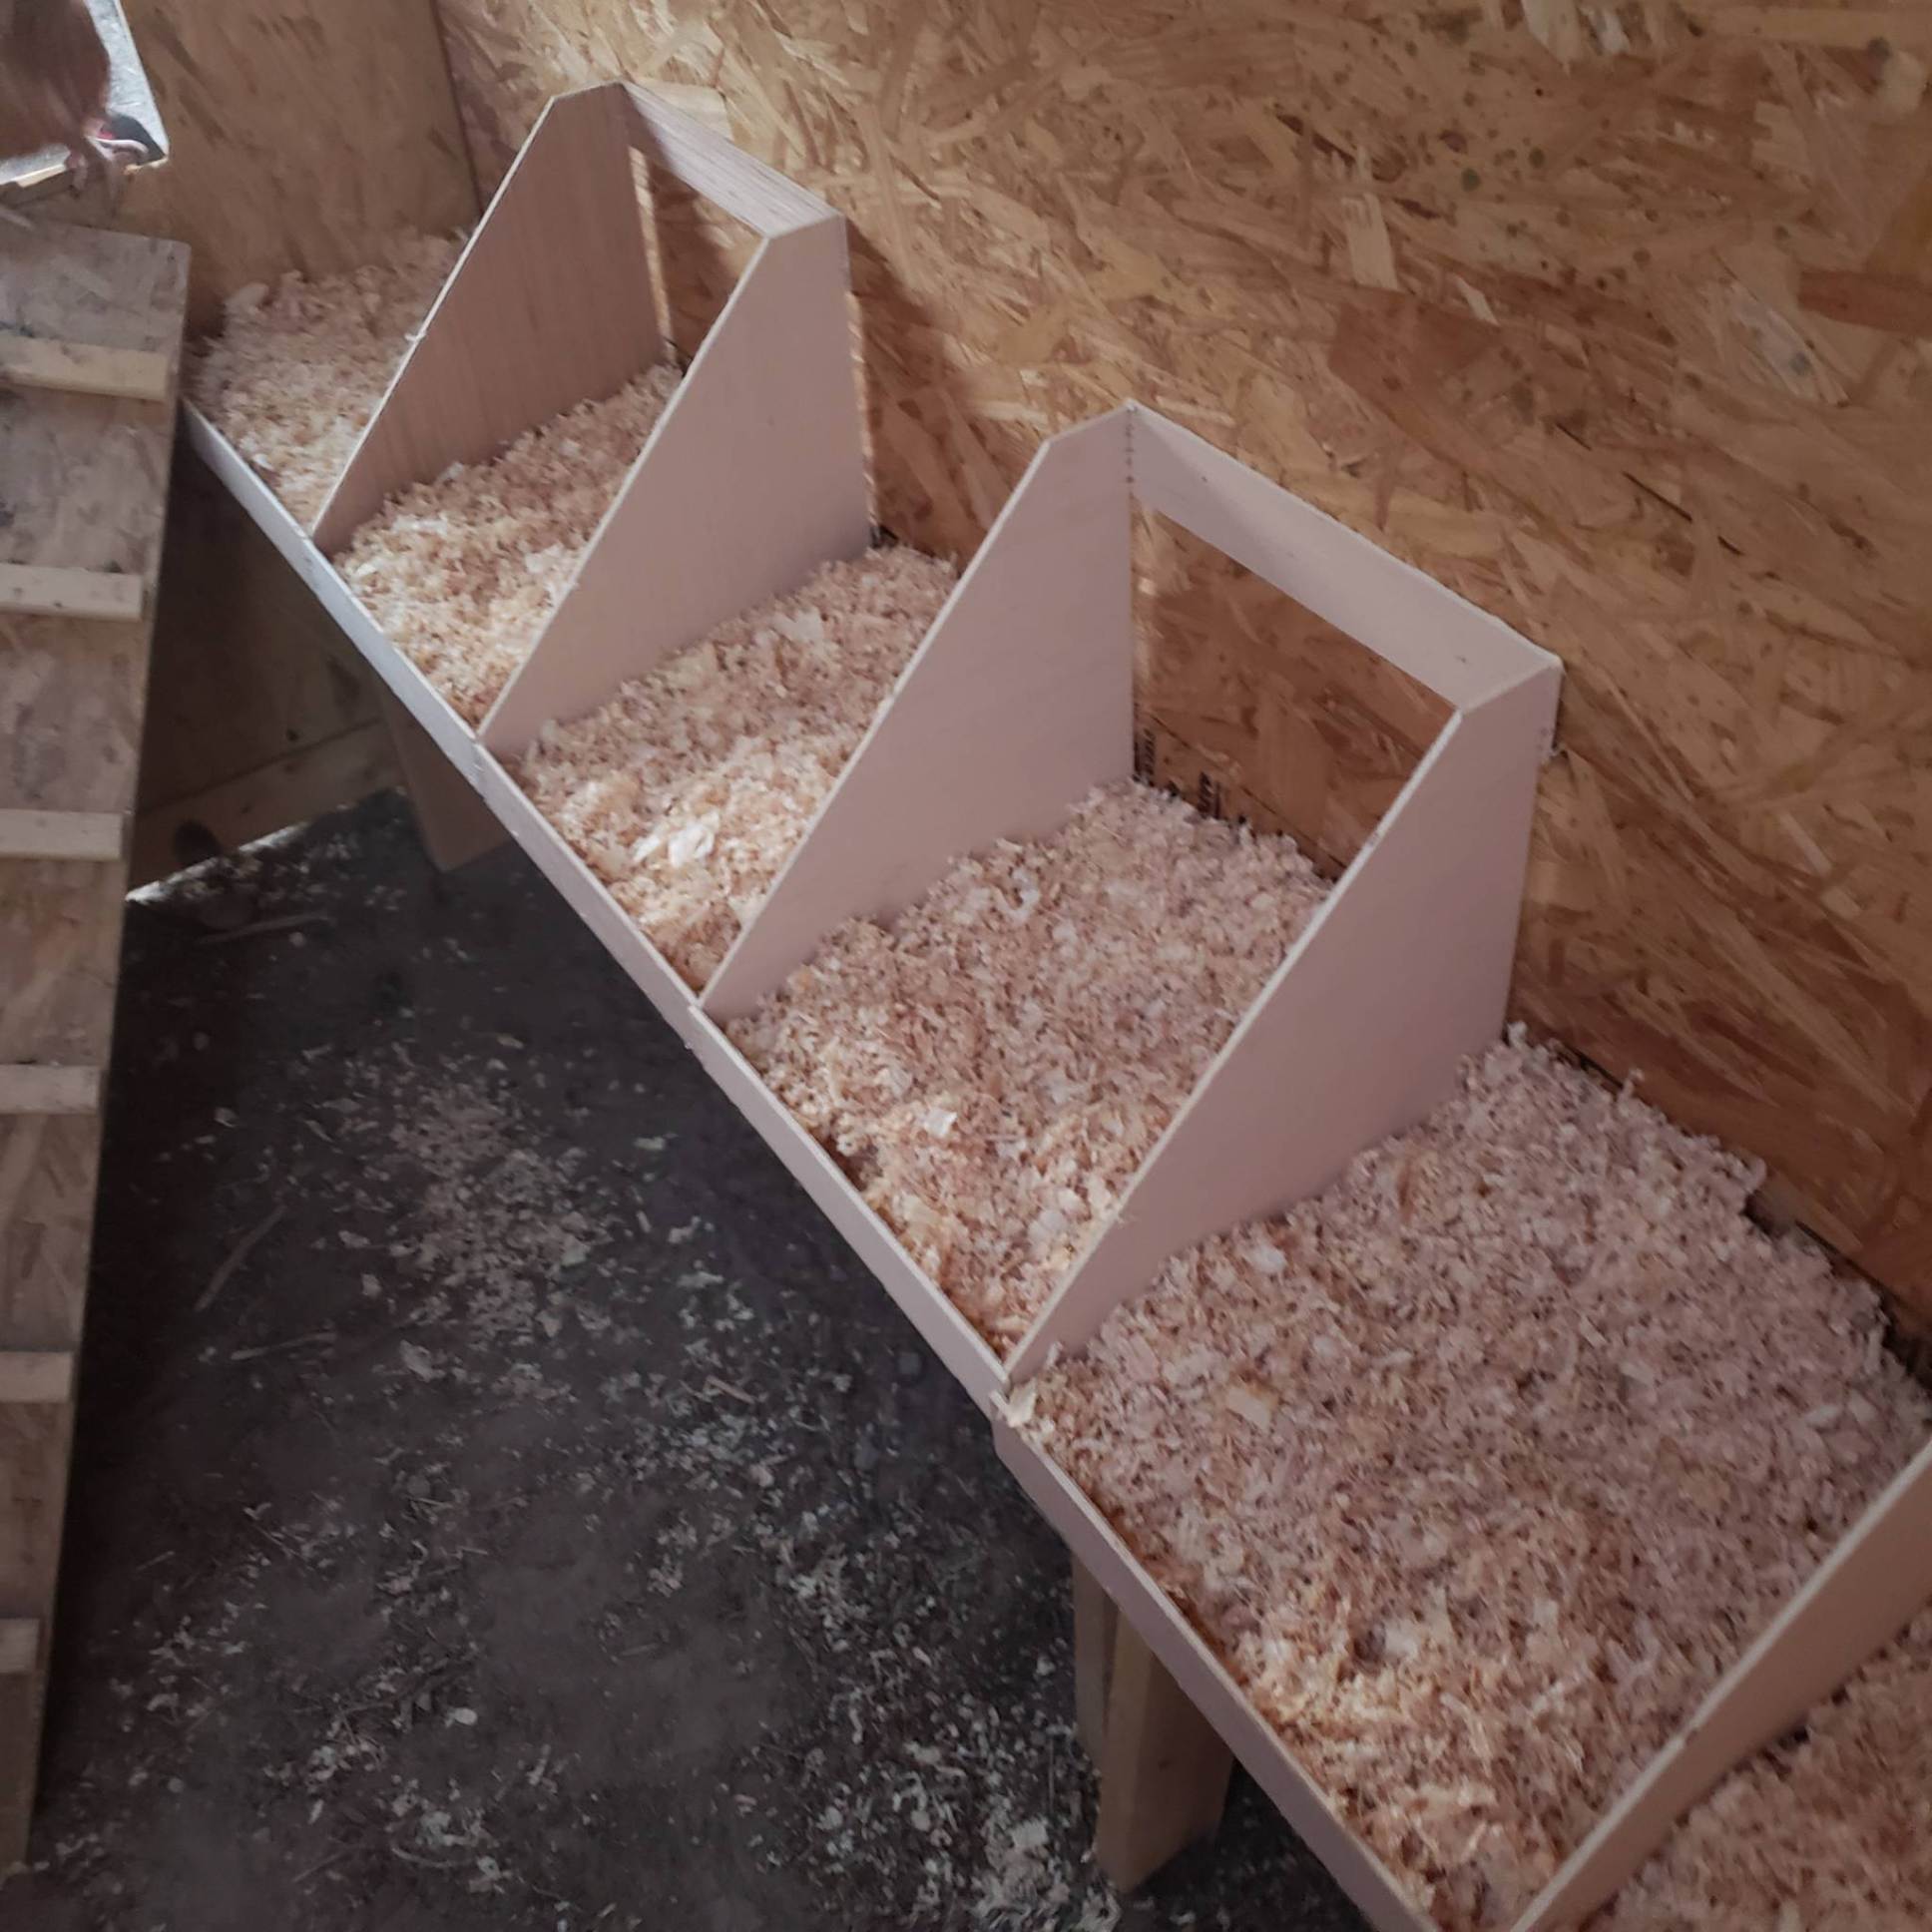
the bottom of these are not very strong so you will need to rest them on something. We used 2 x 10 ‘s that we had on hand. We made little tables so they had legs on the ground. Then we attached them to the wall they were next to. After that, we laid the nesting boxes on and used the nail gun to attach to the bottom support and the back wall. And look how pretty they turned out!

Just make sure it is sturdy and low enough the chickens can get on. We thought about building a walk-way, but decided against it. The chickens can jump enough to get on. These are 19 inches off the ground. Add your bedding and you’re good to go!
I hope this tutorial helps someone out! It’s an easy build that is cost effective as well. I will be doing a full coop tour once it’s all painted and pretty! Thanks for reading friends!
